
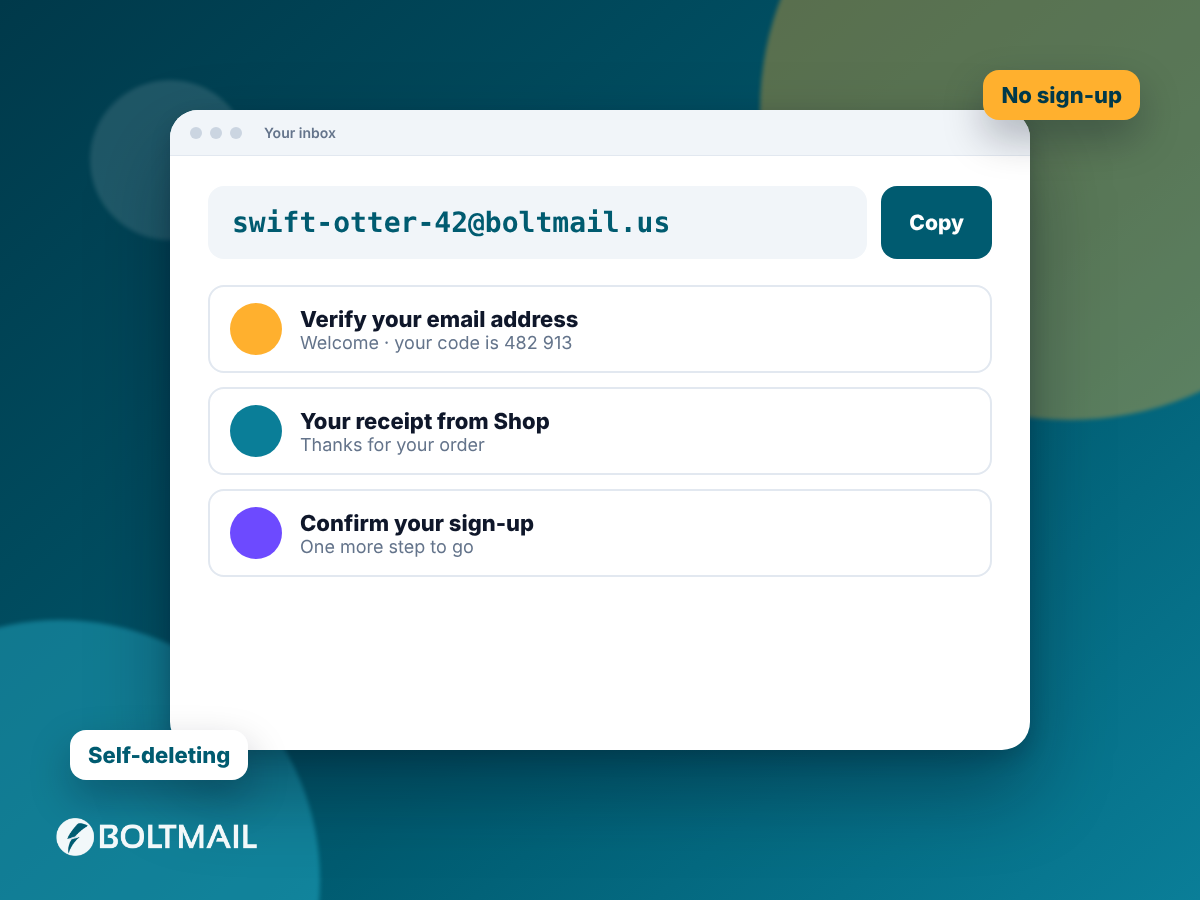

The BoltMail API gives your code a private, throwaway inbox on demand. You ask for an address, hand it to whatever system needs to send an email, wait for the message, read it, and delete the mailbox. No SMTP server to run, no IMAP library to learn, and no real person's inbox cluttered with test mail. This quickstart takes you from nothing to a working mailbox in about five minutes, and every step has a copy-paste example.
Step 1: create a developer account and a key
Open the Developer area, register with your email address and confirm it. The free plan is enough to follow this guide. On your dashboard open API keys and press Create key. Give it a name you will recognise later, such as local-tests. The key is shown once. Copy it into a password manager or an environment variable straight away, because BoltMail stores only a hash and cannot show it again.
Keep the key out of your source code. Put it in an environment variable and read it at runtime:
export BOLTMAIL_KEY="bm_0123456789abcdef0123456789abcdef01234567"Step 2: say hello with /me
Every request carries the key in an Authorization: Bearer header. The cheapest way to prove everything works is GET /me, which returns your plan, your per-minute rate limit and how many mailboxes the key may hold.
curl -s https://boltmail.us/api/v1/me \
  -H "Authorization: Bearer $BOLTMAIL_KEY"
If you see JSON with your key prefix, the key is valid and the API is switched on. A 401 means the key is wrong or revoked, and a 403 usually means an IP or domain restriction on the key is blocking you.
Step 3: see which domains you can use
GET /domains lists every domain you may create addresses on. If your plan includes custom domains, your own verified domains appear here too, in a separate custom_domains list that only your keys can see.
curl -s https://boltmail.us/api/v1/domains \
  -H "Authorization: Bearer $BOLTMAIL_KEY"
Step 4: create a mailbox
Send a POST /mailboxes. With an empty body BoltMail invents a random readable address on a random domain. You can also choose the username and the domain yourself.
curl -s -X POST https://boltmail.us/api/v1/mailboxes \
  -H "Authorization: Bearer $BOLTMAIL_KEY" \
  -H "Content-Type: application/json" \
  -d '{"username":"signup-test-42"}'
The response is 201 Created with the address, its status, a message counter and a web_link that opens the very same inbox in a browser, which is handy when you want to look at a message with your own eyes while debugging.
Step 5: wait for the email
Now send mail to that address from your application. Instead of polling in a loop, use the long-poll endpoint. GET /mailboxes/{address}/wait holds the connection open for up to 25 seconds and returns the moment a new message exists. The next article in this series covers it in depth, but this is the shape:
curl -s "https://boltmail.us/api/v1/mailboxes/signup-test-42@example.com/wait?timeout=25" \
  -H "Authorization: Bearer $BOLTMAIL_KEY"
When a message arrives you get timed_out: false, the messages and a last_id you can pass as after_id on the next call.
Step 6: read the message
GET /mailboxes/{address}/messages/{id} returns the full message: sender, subject, plain text, HTML, and two conveniences built for sign-up flows. The links array holds every URL found in the message, and codes holds numeric codes of four to eight digits. Reading a message marks it as read unless you add ?mark_read=false.
Step 7: clean up
Delete the mailbox when the test is done. DELETE /mailboxes/{address} returns 204 and removes the address with all its mail. Mailboxes also expire on their own, but deleting explicitly keeps you well inside your plan's mailbox limit, which matters when thousands of tests run every day.
The same flow in PHP, Python and JavaScript
Here is the whole loop in PHP using nothing but cURL:
function bm(string $method, string $path, array $body = null) {
    $ch = curl_init('https://boltmail.us/api/v1' . $path);
    curl_setopt_array($ch, [
        CURLOPT_CUSTOMREQUEST => $method,
        CURLOPT_RETURNTRANSFER => true,
        CURLOPT_HTTPHEADER => ['Authorization: Bearer ' . getenv('BOLTMAIL_KEY'), 'Content-Type: application/json'],
        CURLOPT_POSTFIELDS => $body ? json_encode($body) : null,
    ]);
    $out = curl_exec($ch);
    return json_decode((string)$out, true);
}
$box = bm('POST', '/mailboxes');
$address = $box['address'];
// ... trigger your app to email $address ...
$res = bm('GET', '/mailboxes/' . rawurlencode($address) . '/wait?timeout=25');
$msg = bm('GET', '/mailboxes/' . rawurlencode($address) . '/messages/' . $res['messages'][0]['id']);
echo $msg['codes'][0];
bm('DELETE', '/mailboxes/' . rawurlencode($address));
And in Python with requests:
import os, requests
S = requests.Session()
S.headers['Authorization'] = 'Bearer ' + os.environ['BOLTMAIL_KEY']
BASE = 'https://boltmail.us/api/v1'
box = S.post(BASE + '/mailboxes').json()
addr = box['address']
# trigger your app here
res = S.get(f'{BASE}/mailboxes/{addr}/wait', params={'timeout': 25}).json()
msg = S.get(f"{BASE}/mailboxes/{addr}/messages/{res['messages'][0]['id']}").json()
print(msg['codes'])
S.delete(f'{BASE}/mailboxes/{addr}')
And in JavaScript with fetch (Node 18 or newer):
const BASE = 'https://boltmail.us/api/v1';
const H = { Authorization: 'Bearer ' + process.env.BOLTMAIL_KEY, 'Content-Type': 'application/json' };
const api = (m, p, b) => fetch(BASE + p, { method: m, headers: H, body: b ? JSON.stringify(b) : undefined });
const box = await (await api('POST', '/mailboxes')).json();
// trigger your app here
const res = await (await api('GET', `/mailboxes/${box.address}/wait?timeout=25`)).json();
const msg = await (await api('GET', `/mailboxes/${box.address}/messages/${res.messages[0].id}`)).json();
console.log(msg.codes);
await api('DELETE', `/mailboxes/${box.address}`);
Common first-day problems
- 401 unauthorized: the header must be exactly
Authorization: Bearer KEY. Keys in the URL are never accepted. - 403 mailbox_limit: the key already holds its maximum number of mailboxes. Delete some or move to a bigger plan.
- 429 rate_limited: you went over the per-minute limit. Wait for the time in the
Retry-Afterheader. The article on rate limits explains a clean retry strategy. - The email never arrives: confirm the sending system is not blocking the domain, and open the
web_linkto see whether the message landed in the inbox at all.
Where to go next
You now know the whole life cycle of a mailbox: create, wait, read, delete. From here, read the guide on securing your keys, then the one about the /wait endpoint. The complete reference, with every field, lives on the API documentation page, and the machine-readable OpenAPI file at /api/v1/openapi.json can be imported into Postman or generate a client in your language.